How to Setup SAML-P SSO using Okta
VIDIZMO supports Single Sign-On (SSO) using the SAML-P protocol with Okta, allowing users to sign in with their Okta credentials.
To learn more about SSO, see Understanding Single Sign-On.
Prerequisites
- Ensure that you belong to a group where the Management of SSO + SCIM permission is enabled.
- You must have an Okta developer account to create an Okta application. To create an account, visit Okta Developer Signup.
- VIDIZMO requires your Okta authorization server to expose the following scopes for attribute mapping and user authentication:
- Profile: Exposes the user's First Name and Last Name.
- Email: Exposes the user's Email Address.
- Groups: A custom scope that must be exposed by your authorization server.
Configuration in Okta
Create Application
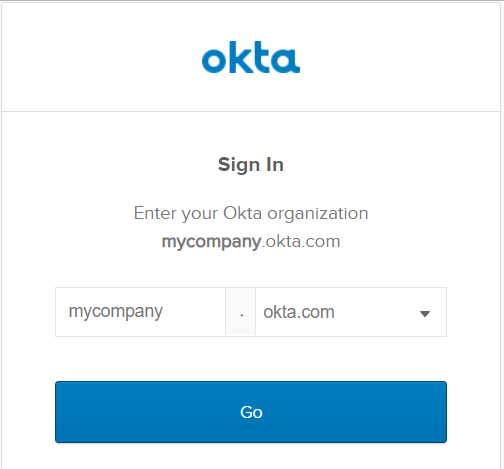
- Go to https://login.okta.com/ and enter the Org URL you received when creating your Okta developer account.
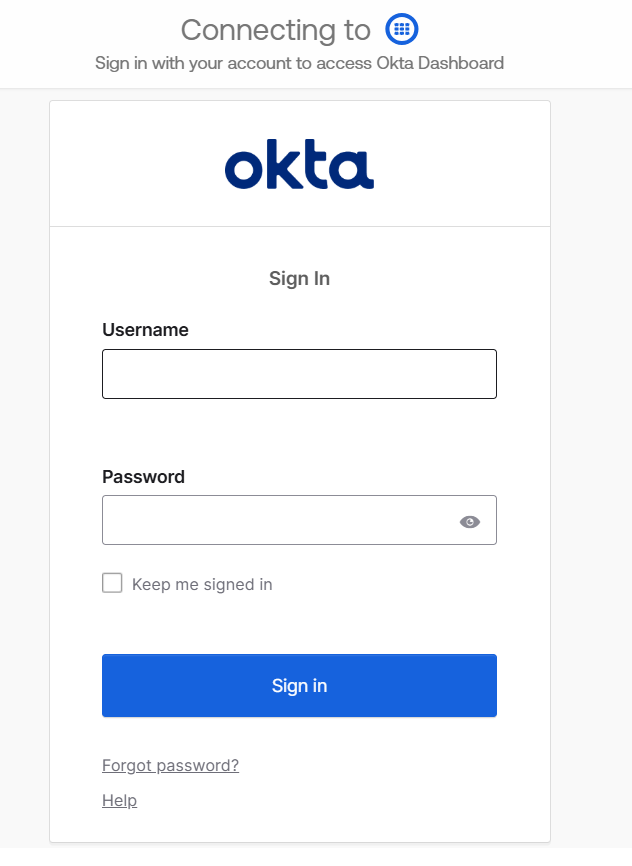
- On the Sign In page, enter your email address and password. Select Sign In.
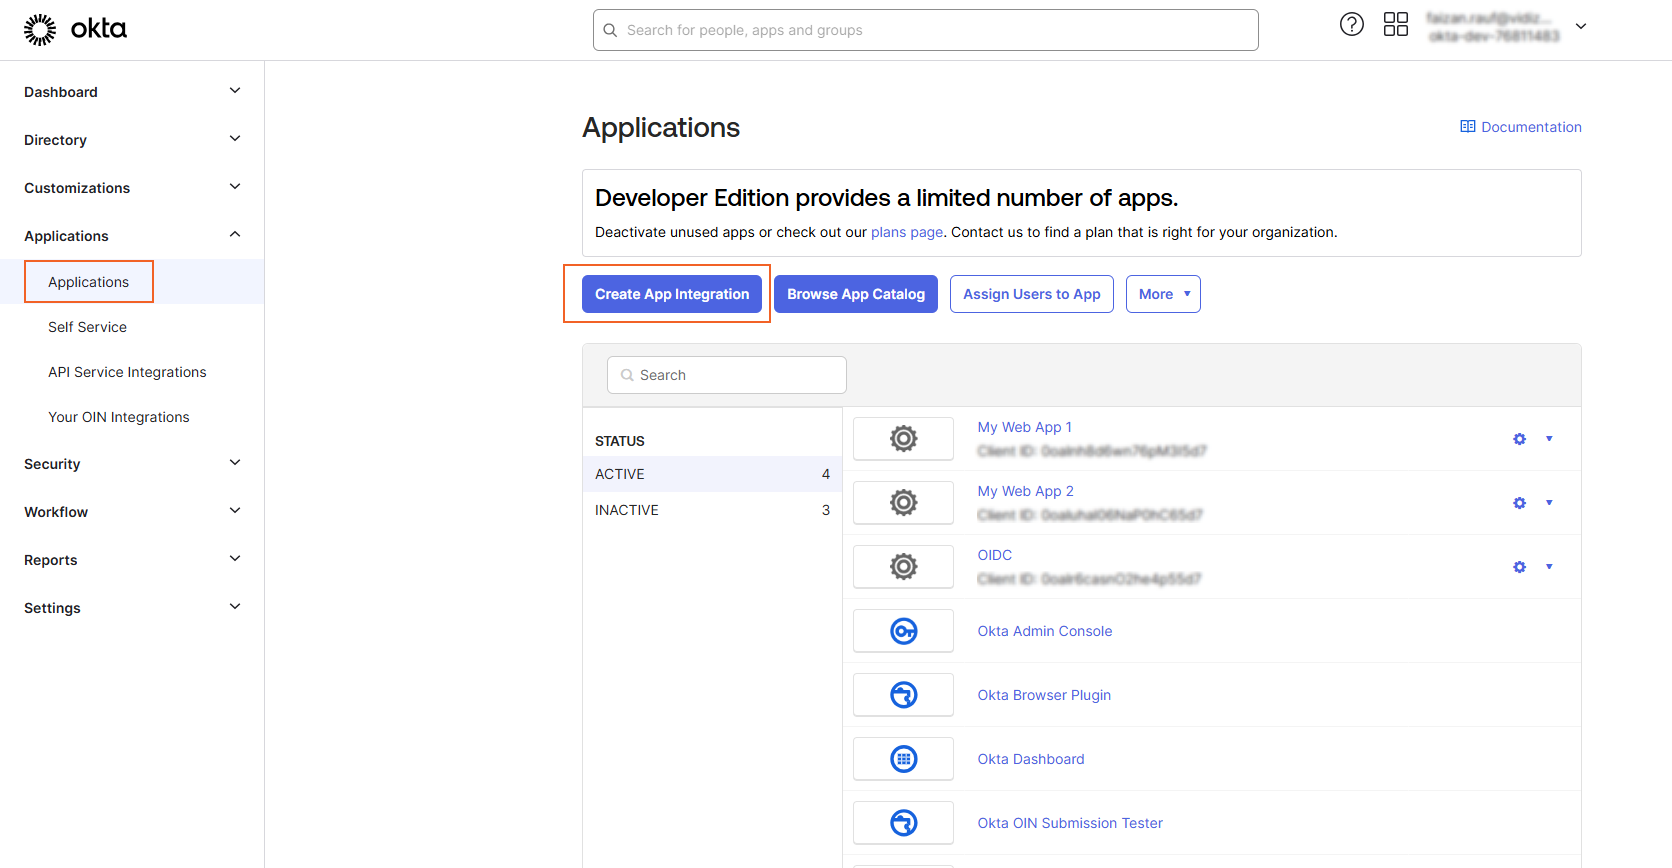
- From the Developer Dashboard, select Applications and then select Create App Integration.
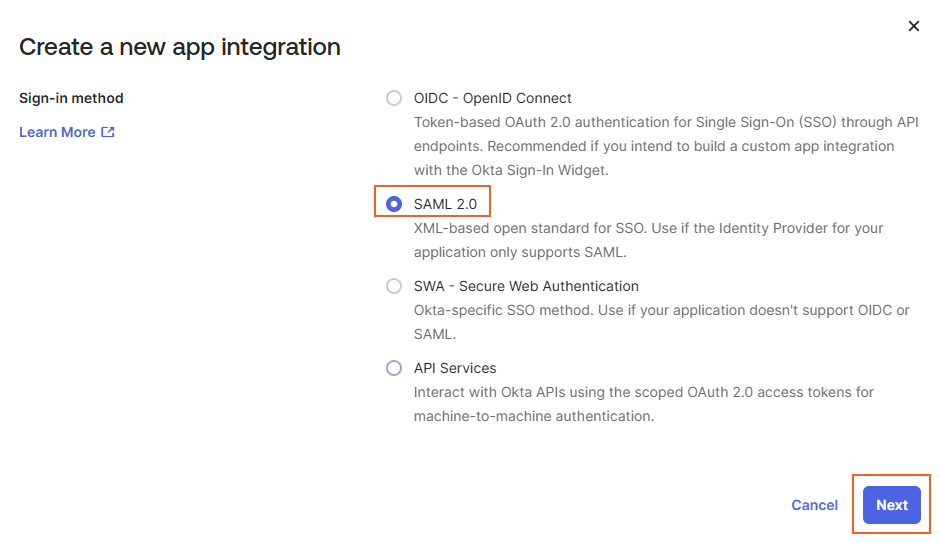
- On the Create a new app integration page, select SAML 2.0 as the sign-in method and select Next.
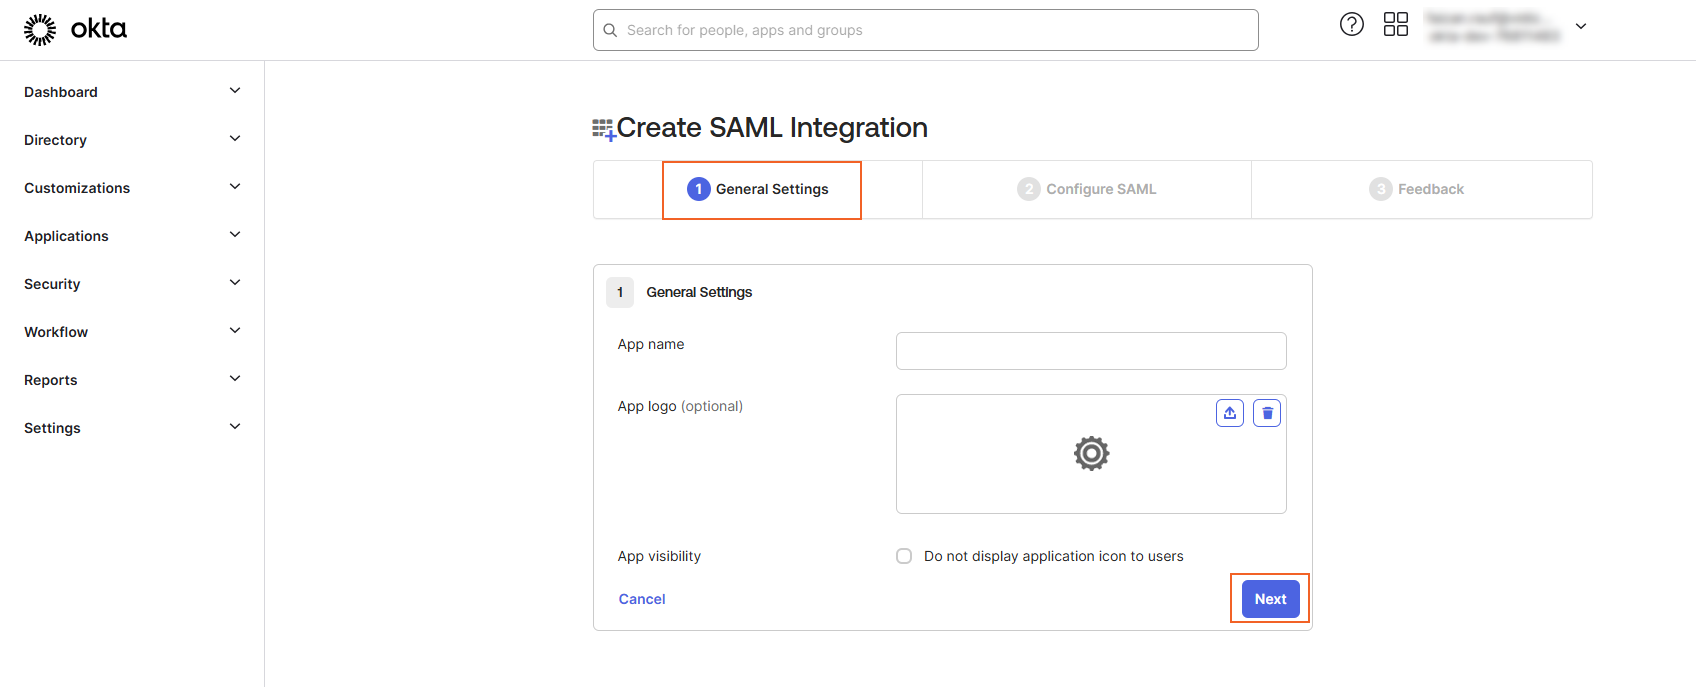
- On the Create SAML Integration page under the General Settings tab, enter a suitable name for your Okta app and select Next.
- On the Configure SAML tab, configure the following:
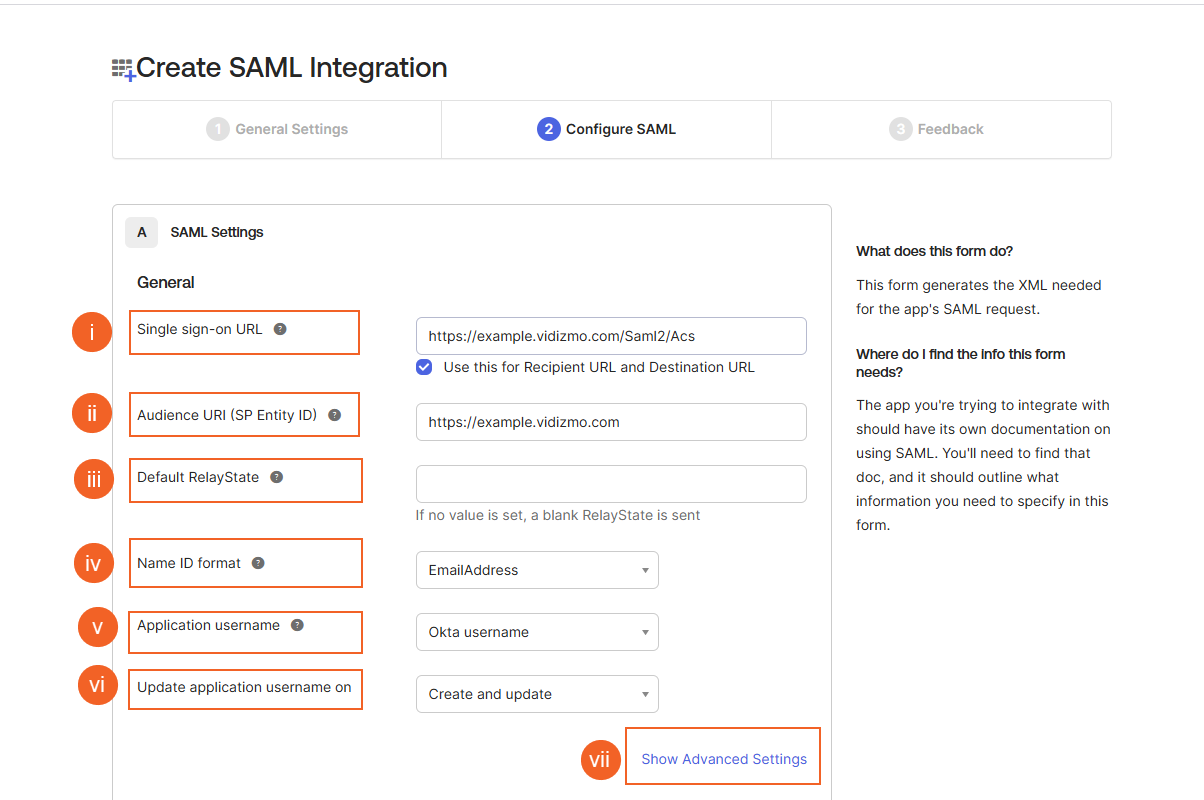
- Single Sign-on URL
The location where the SAML assertion is sent with an HTTP POST. Append
/Saml2/Acsto your VIDIZMO Portal URL (for example,https://example.vidizmo.com/Saml2/Acs). - Audience URI Enter your VIDIZMO Portal URL.
- Default Relay State Leave this field blank.
- Name ID format Select EmailAddress.
- Application username Select Okta username.
- Update application username on Select Create and update.
Select Show Advanced Settings to configure additional options:
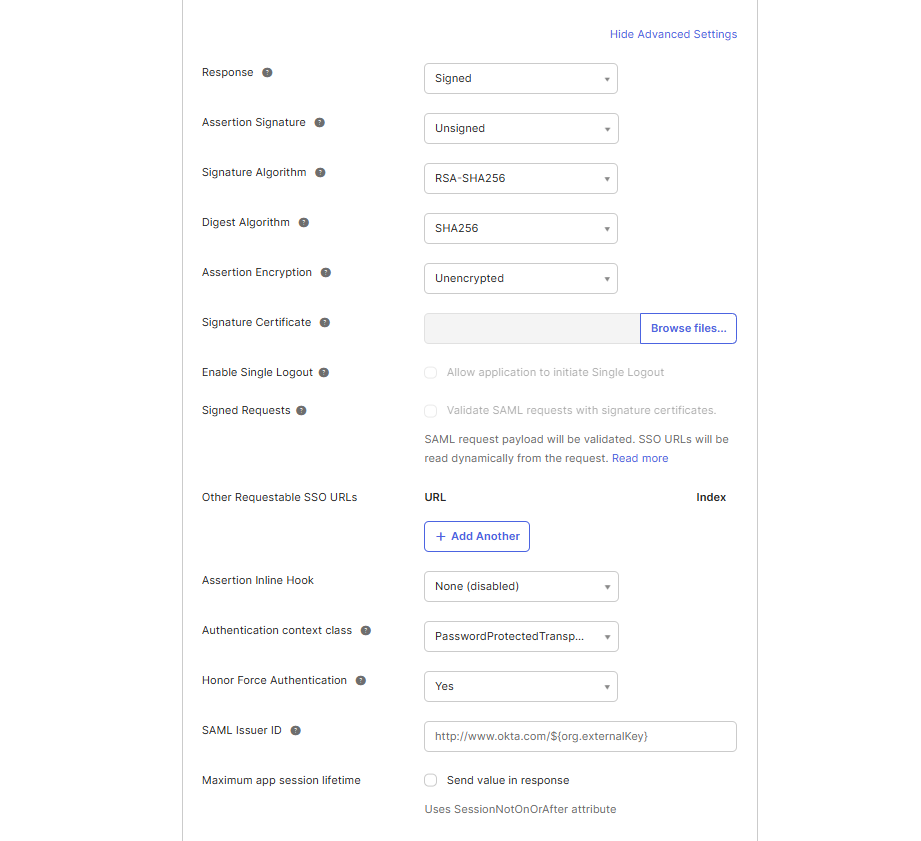
- Response: Select Signed.
- Assertion Signature: Select Unsigned.
- Signature Algorithm: Select the signing algorithm used to digitally sign the SAML assertion and response.
- Digest Algorithm: Select the digest algorithm used to digitally sign the SAML assertion and response.
- Assertion Encryption: Select Unencrypted.
- Assertion Inline Hook: Leave as None (disabled).
- Authentication context class: Select PasswordProtectedTransport.
- Honor Force Authentication: Select Yes.
Configure the Attribute Statements by adding Name formats as shown in the screenshot. For Group Attribute Statements, select Matches regex and specify .* as the condition.
Select Next to continue.

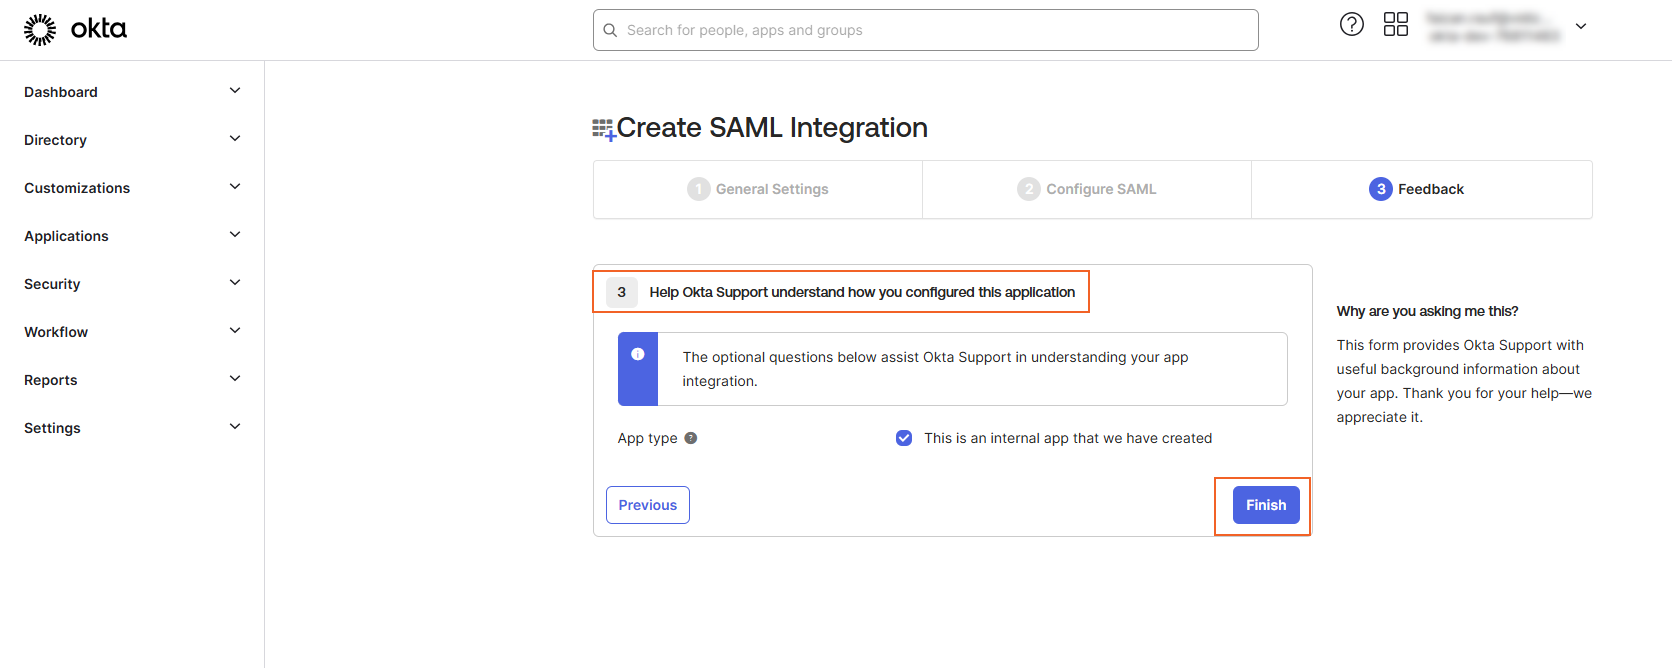
- On the Feedback tab, optionally select any option and select Finish.
- You will be navigated to your app page.
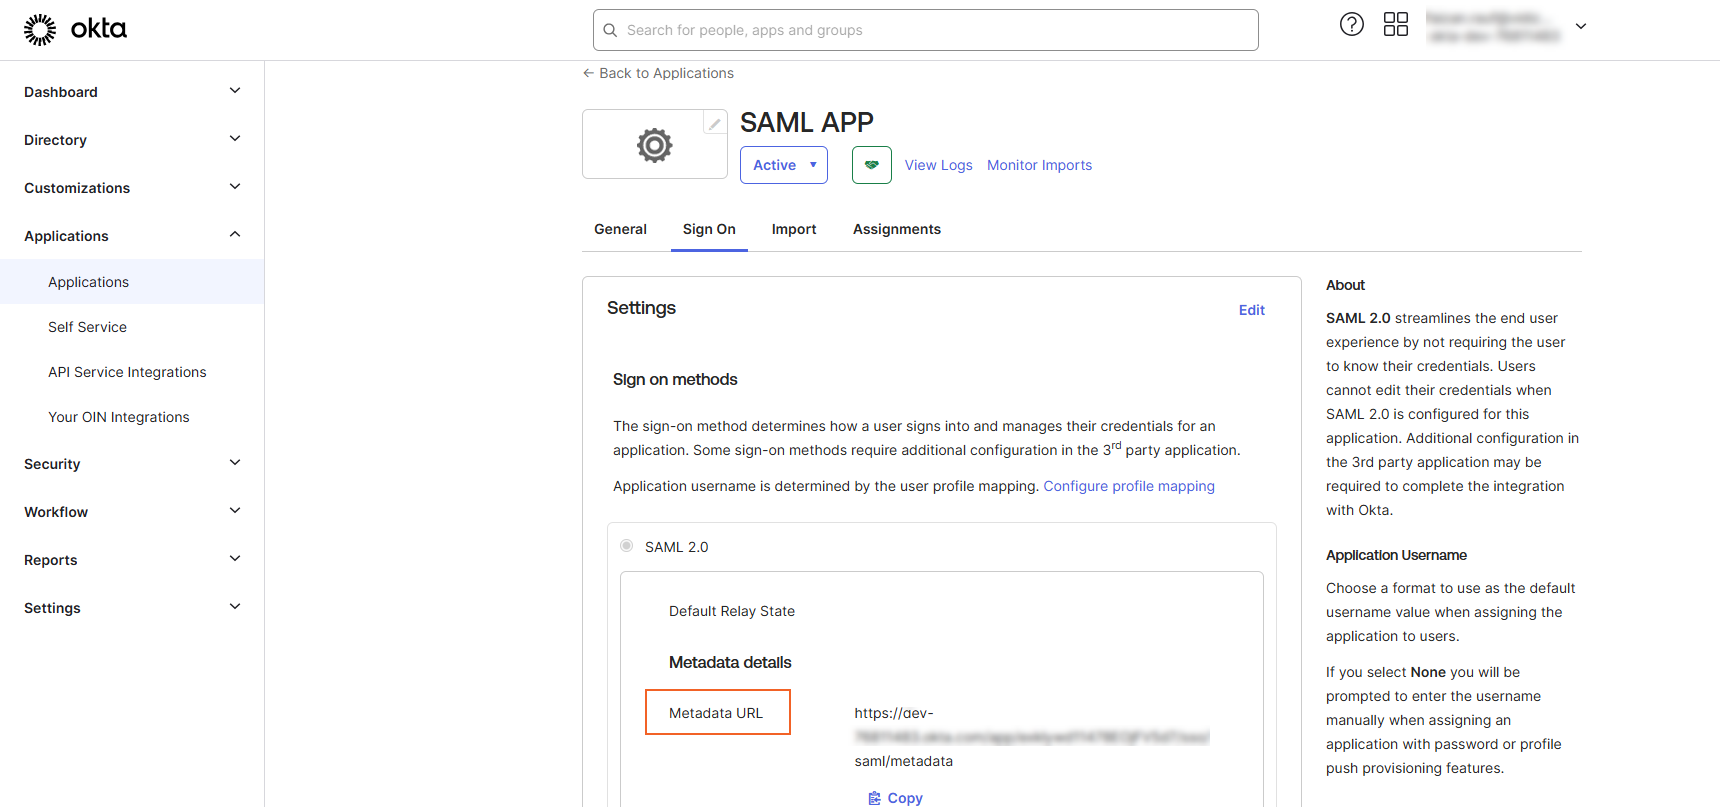
- Select the Sign On tab.
- Locate the Metadata URL and copy it. This URL will be used as the Meta Address in the VIDIZMO configuration.
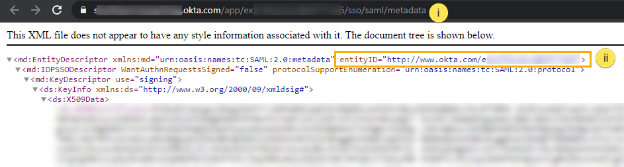
- To retrieve the Entity ID, open a web browser and paste the Metadata URL into the address bar. Locate the Entity ID in the response and copy it. This will be used as the SAML Issuer in the VIDIZMO configuration.
Configuration in VIDIZMO
- In VIDIZMO, select the menu icon in the top-left corner to open the navigation pane.
- Expand the Admin section and select Portal Settings.
- Go to Apps > Single Sign-On.
- Select the settings icon on the SAMLP SSO app.
- In the settings dialog, enter the following:
- SAML Issuer The Entity ID copied from your Okta application.
- Meta Address The Metadata URL copied from your Okta application.
- Portal Identity Your VIDIZMO Portal URL, matching the Audience URI configured in Okta.
- SSO Login Message A custom message displayed on the sign-in page for this SSO option.
- SSO Login Button Label A custom label for the SAML sign-in button on the sign-in page.
- Callback Path
Pre-configured to
/Saml2/Acs. - Force Login Select this option to redirect users directly to the Okta sign-in page. When unchecked, users sign in through your Portal's sign-in screen.
- Attribute Mapping Map your Okta attributes (FirstName, LastName, EmailAddress, ExternalSystemId) to your VIDIZMO Portal. You can also add new attribute mappings if needed.
- CAL Select a Client Access License to assign to users who sign in through SAML-P SSO. When a user enters the Portal via SAML-P SSO, this CAL is assigned to them, granting the permissions associated with that CAL.
- Select Save Changes to apply your settings.
- Turn on the toggle for the SAMLP SSO app to enable SSO.
Result
Navigate to your Portal's sign-in screen. You will see an option to Sign in with SAML SSO. Selecting it redirects you to the Okta sign-in page where you can enter your Okta credentials.